Setting the Perfect Height for Your Toilet Flange
When it comes to installing a toilet, one crucial element that often gets overlooked is the height of the toilet flange.
The toilet flange, also known as a closet flange, plays a vital role in ensuring a stable and leak-free connection between the toilet and the waste pipe.
Setting the flange at the right height is essential to prevent wobbling, leaks, and potential damage to your floor.
In this comprehensive guide, we will explore the proper toilet flange height and provide step-by-step instructions on how to set it correctly.
Understanding the Toilet Flange
Before we dive into the specifics of setting the height, let’s take a moment to understand what a toilet flange is and its significance in the overall toilet installation process.
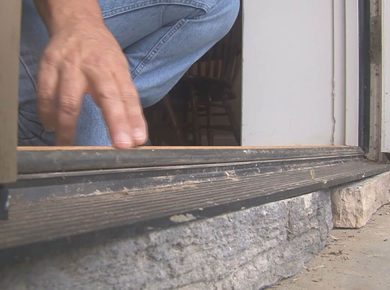
The toilet flange is a metal, rubber, or PVC ring that sits on the floor and connects the toilet to the drain pipe.
It serves as a seal, preventing leaks and unpleasant odors from escaping into your bathroom.
The material composition of the flange may vary depending on the age of your house and local building codes.
Determining the Optimum Flange Height
The optimum height for a toilet flange is typically 1/4 inch above the finished floor.
This measurement allows for a proper seal and compatibility with various wax ring sizes.
To determine the correct flange height, follow these steps:
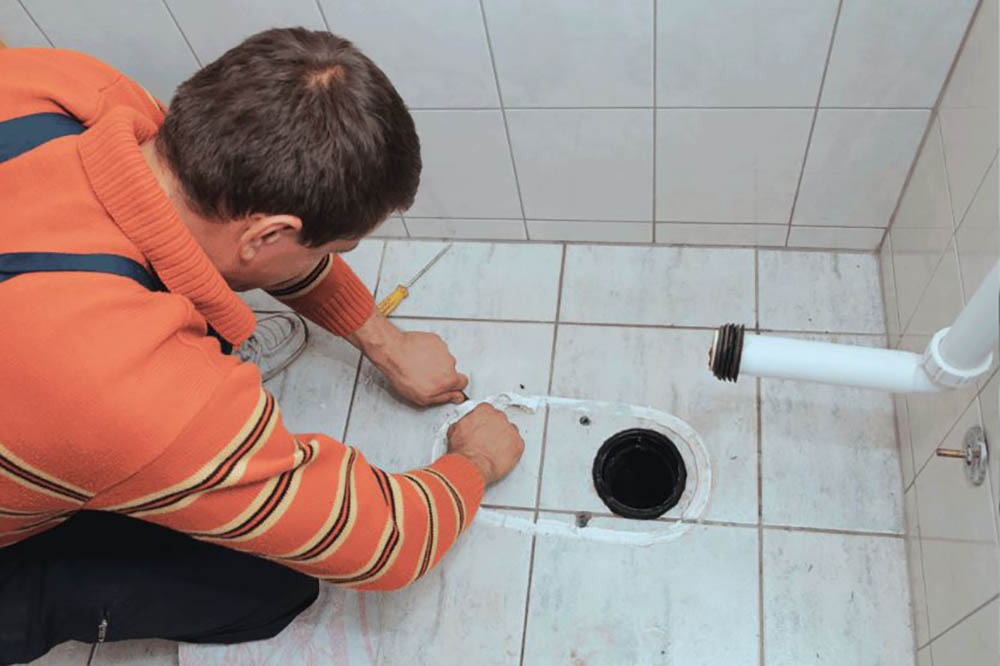
- Confirm the Flange Height: Before installing the toilet, measure the height of the flange above the floor. Ideally, it should be set at 1/4 inch above the finished floor level. However, if you have already installed tiles or other flooring materials, adjustments might be necessary.
- Using a Flange Extender: If the flange height falls short of the desired 1/4 inch, you can use a flange extender to raise it to the correct level. Flange extenders are available in 1/4 inch or 1/2 inch sizes and can be easily installed with long bolts.
- Fastening the Closet Bolts: Once the flange height is determined, secure the closet bolts provided with the toilet to the flange. Ensure they are positioned straight up and tightly secured.
- Installing the Wax Ring and Toilet: Choose an appropriate wax ring size based on the flange height. A polyethylene plastic sleeve type wax ring is recommended for a secure seal. Place the wax ring on top of the flange and carefully position the toilet over it. Align the bolts with the holes in the toilet’s base.
- Checking the Toilet’s Level: Rock the toilet gently from side to side and front to back to ensure it sits level and stable on the floor. If the toilet wobbles, use toilet shims to eliminate any gaps and secure it in place.
- Securing the Bolts: Once the toilet is level, secure the bolts to the flange and the toilet floor using the provided nuts and washers. Be careful not to overtighten, as this can lead to damage.
- Caulking the Base: Use silicone caulk to seal the base of the toilet, providing added protection against movement and potential leaks. Leaving a small gap un-caulked at the back allows water to escape in case of a leak, alerting you to the issue before it causes significant damage.
What if the Flange Height is Incorrect?

In some cases, the toilet flange may be set too high or too low, causing problems such as rocking, leaks, or floor damage.
Let’s explore two common scenarios and the steps to rectify them.
Scenario 1: Flange Set Too High
If your toilet flange is set too high from the floor, it can result in a rocking toilet and potential leaks.
To address this issue, you have a few options:
- Replace the Flange: Removing the existing flange and replacing it with a new one set at the correct height is the most effective solution. This process involves removing the toilet, breaking off the outer flange, extracting the fitting inside the pipe, grinding the top of the pipe, and finally installing the new flange.
- Using Grout as Filler: Another option is to fill the gap between the flange and the floor with grout. This method requires placing rubber shims under the toilet, filling the gaps with grout, allowing it to dry, removing the shims, and filling the remaining spaces with grout.
Scenario 2: Flange Set Too Low
If your toilet flange is set too low, it can cause instability and potential leaks.
While raising the flange height is challenging in this scenario, there are alternative solutions:
- Using a Flange Spacer: Flange spacers are available in various thicknesses and can be installed on top of the existing flange to raise its height. This method avoids the need for extensive pipe or floor modifications.
- Building Up the Floor: In extreme cases, where the flange is significantly below the desired height, you may need to consider building up the floor around the toilet area. This option requires professional assistance and can be costly.
FAQs
Q: Why is it important to set the toilet flange at the correct height?
A: Setting the toilet flange at the correct height ensures a stable and leak-free connection between the toilet and the waste pipe. It prevents wobbling, potential damage to the floor, and the escape of unpleasant odors.
Q: What is the optimum height for a toilet flange?
A: The recommended height for a toilet flange is 1/4 inch above the finished floor level. This measurement allows for compatibility with various wax ring sizes and ensures a tight seal.
Q: Can I install the toilet flange flush with the floor?
A: No, the flange should never be installed flush with the floor. It should be positioned above the floor, with the bottom edge sitting on top of the finished floor or tiles.
Q: What should I do if the toilet flange is set too high?
A: If the toilet flange is set too high, it can result in a rocking toilet and potential leaks. Consider replacing the flange or using grout as filler to rectify the issue.
Q: What should I do if the toilet flange is set too low?
A: If the toilet flange is set too low, it can cause instability and potential leaks. Options for addressing this issue include using a flange spacer or building up the floor around the toilet area.
Conclusion
Setting the proper height for your toilet flange is crucial for a secure and leak-free toilet installation. By following the steps outlined in this guide, you can ensure that your flange is positioned correctly, allowing for a stable connection and preventing potential damage.
Remember to measure the flange height, use the appropriate wax ring, check the toilet’s level, and secure the bolts properly.
If the flange height is incorrect, consider replacing the flange or using alternative solutions such as grout or flange spacers. With the right flange height, you can enjoy a worry-free and functional toilet for years to come.
Don’t Miss These Related Articles: