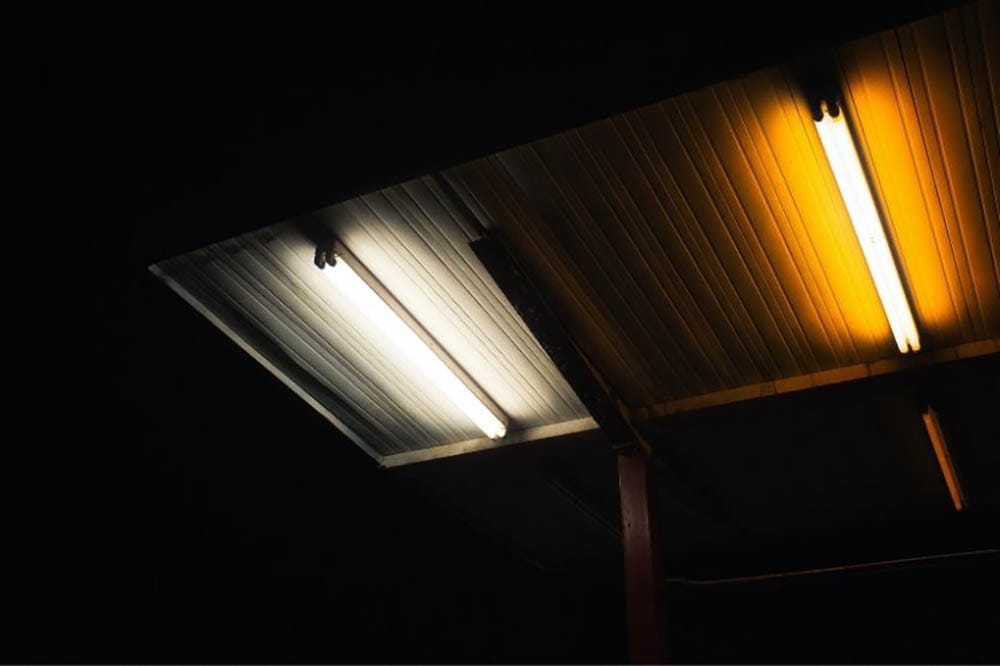
Troubleshooting and Fixing Fluorescent Lights That Won’t Turn On Sometimes
Note: This article provides comprehensive troubleshooting steps and fixes for fluorescent lights that won’t turn on sometimes or at all. It is important to follow these guidelines to ensure your safety and prevent any potential hazards.
Introduction
Dealing with a fluorescent light that won’t turn on sometimes or at all can be frustrating. However, with a little know-how, you can troubleshoot and fix the issue.
In this article, we will explore the common causes of this problem and guide you through the steps to identify and resolve the issue.
Common Causes of Fluorescent Lights Not Turning On
There are several potential causes for a fluorescent light to not turn on sometimes or at all. These include:
- Insufficient electrical power: The breaker may have tripped or a fuse may have blown, resulting in the lack of power reaching the light.
- Failing or dying starter: The starter, a small cylindrical device responsible for initiating the electrical flow, may be defective or nearing the end of its lifespan.
- Faulty ballast: The ballast, which regulates the electrical current flowing through the bulb, may be malfunctioning or inoperative.
- Dead bulb: If the fluorescent light has reached the end of its service life, it will no longer be able to turn on.
- Disconnected electrical wiring: If there is a disconnected electrical wiring in the ballast, the fluorescent bulb will not receive the necessary power to turn on.
- Faulty electric switch: A defective switch will be unable to supply electricity to the fluorescent light.
Troubleshooting Steps for Fluorescent Lights
To troubleshoot a fluorescent light that won’t turn on sometimes or at all, follow these steps:
Step 1: Check the Fluorescent Light
- Remove the light from the ballast or diffuser.
- Inspect both ends of the tube for any dark spots or blackening. If dark spots are present, the tube may need to be replaced.
Step 2: Check the Contacts at Both Ends of the Ballast
- Examine the two prongs at the sockets on both ends of the ballast. If they are oxidized or damaged, replace them.
- Remove the prongs and clean the contacts at the end of the electrical wiring using rubbing alcohol.
- Install new prongs in the sockets and secure them with the original screws.
Step 3: Examine the Sockets
- Check the fit of the fluorescent light in the sockets. If there is a loose fit, tighten the screws of the sockets to ensure a snug connection.
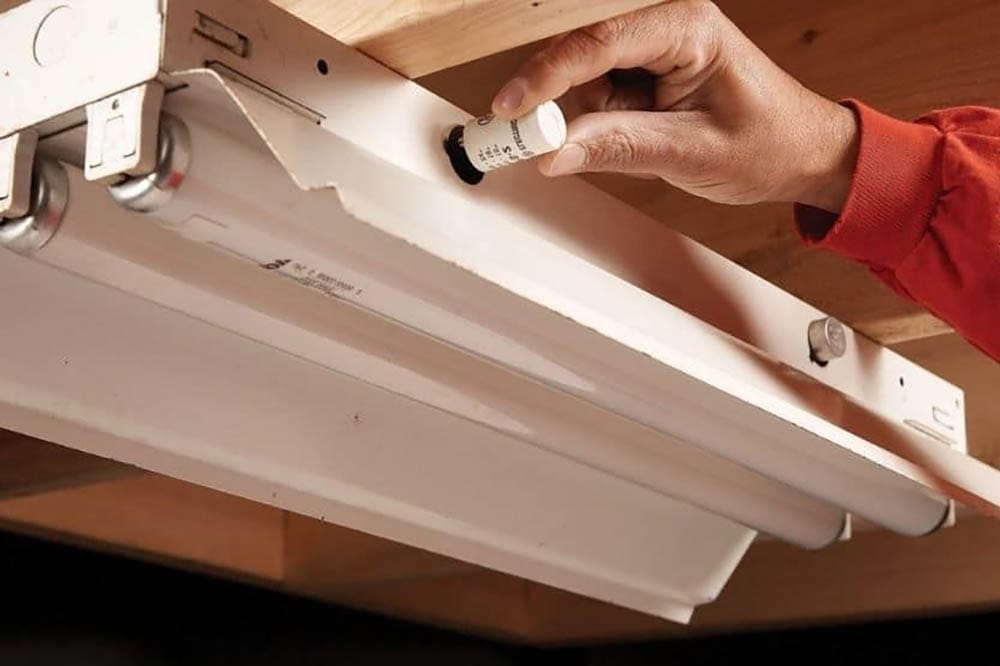
Step 4: Check the Starter
- If the starter is suspected to be defective, unscrew it from the ballast and replace it with a new one.
- Ensure the new starter is securely installed in its socket.
Step 5: Investigate the Power Supply
- If the light still won’t turn on, check if it is plugged in and if there are any blown fuses at the circuit breaker.
- Confirm that the circuit or main breaker has not been accidentally tripped.
Step 6: Remove Dust or Corrosion
- Turn off the switch and gently wiggle the lamp in its sockets to remove any dust or slight corrosion.
- Clean both ends of the lamp with fine-grit sandpaper, wiping away the dust with a cloth or paper towel.
- For circular lamps, clean the four pins attached to the lamp body.
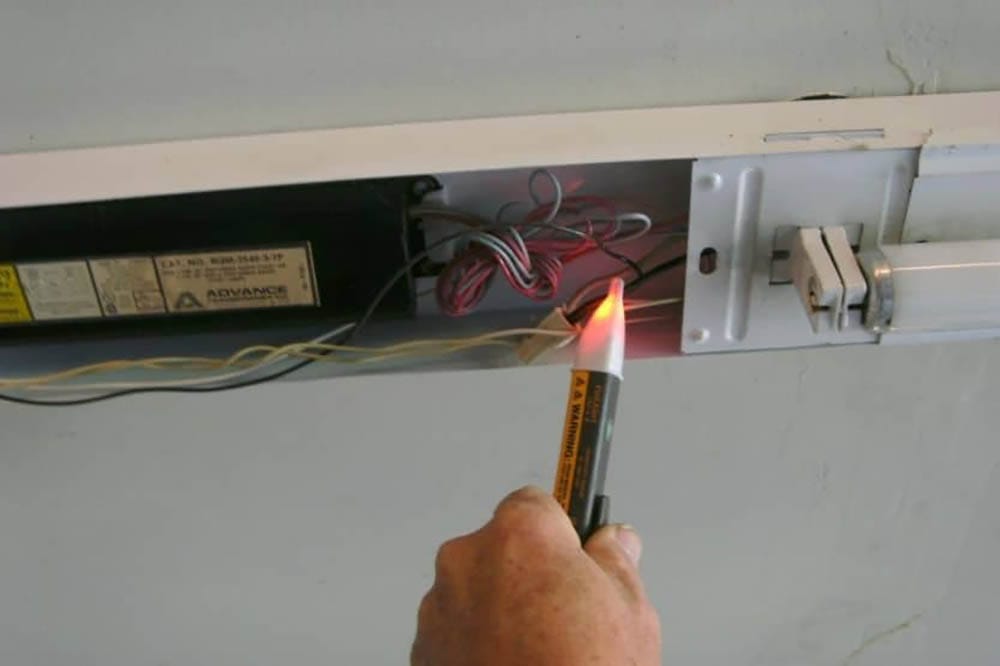
Step 7: Locate Loose Connections
- If the lamp turns on and off rather than flickering, there may be a loose electrical wiring connection or a faulty ballast.
- Open the ballast to locate the loose connection and tighten it. If necessary, seek assistance from an electrician.
Step 8: Have the Ballast Checked
- If the lamp still does not work properly after replacing the bulb and starter, the ballast may be faulty.
- Consider having the ballast checked by a qualified electrician or replacing it if necessary.
Preventing Fluorescent Light Problems
To ensure the efficient operation of your fluorescent lights and prevent issues such as dimming, flickering, or failure to turn on, follow these tips:
- Ground your lamps properly: In humid and wet areas, proper grounding of lamps is essential to prevent shock hazards caused by moisture condensation on the exterior of the fluorescent bulb. Attach a ground wire to the ballast for added safety.
- Avoid using open ballast fluorescent lamps in wet areas: Moisture can corrode the pins on the lamp ends and the ballast. Instead, opt for completely covered or sealed lamps.
- Utilize fluorescent lamps with electronic ballasts: In wet and humid environments, use fluorescent lamps with electronic ballasts, as they are better equipped to handle low voltage and provide the necessary initial arc to light the lamp.
Conclusion
Troubleshooting and fixing a fluorescent light that won’t turn on sometimes or at all can be accomplished by following the steps outlined in this article.
By identifying and addressing common causes such as insufficient electrical power, faulty starters or ballasts, dead bulbs, disconnected wiring, and faulty switches, you can restore the functionality of your fluorescent lights.
Remember to prioritize safety and seek professional assistance when needed. With proper care and maintenance, you can prevent future issues and ensure the efficient operation of your fluorescent lights.