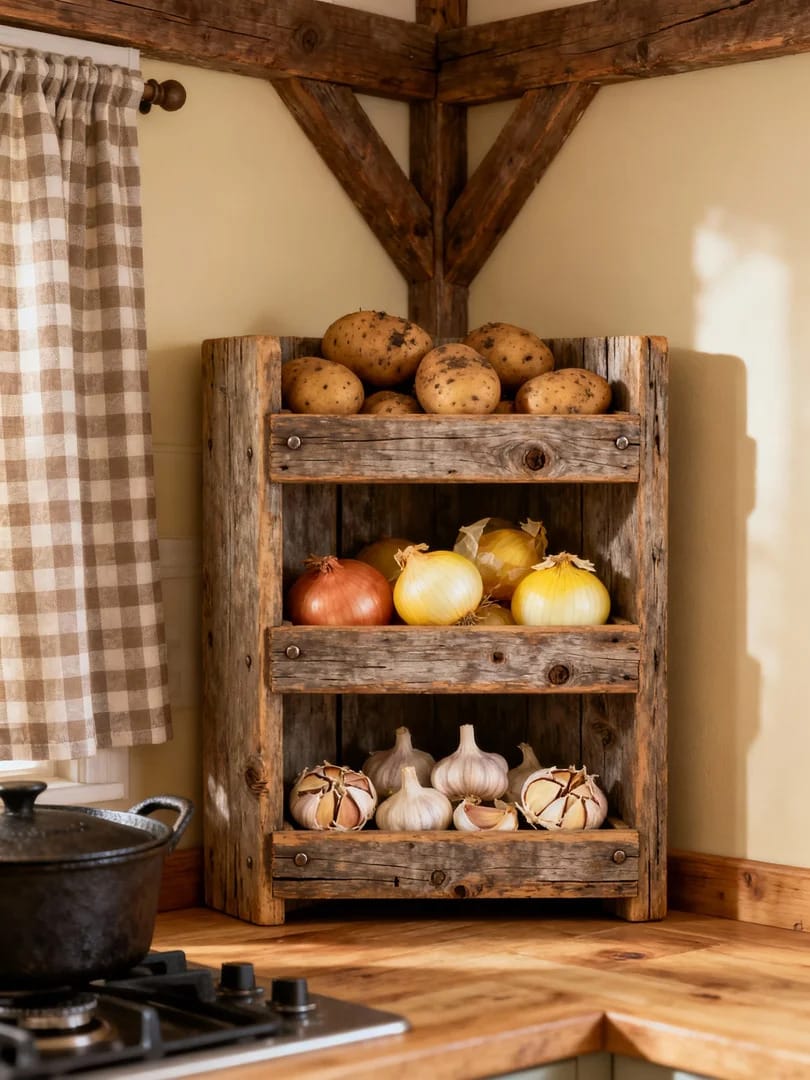
Building Your Own Corner Veggie Bin: A DIY Guide

When it comes to storing vegetables, having a proper storage solution is essential to keep them fresh and organized.
One of the easiest and most practical solutions is a corner veggie bin. I
n this DIY guide, we will take you through the step-by-step process of building your own corner veggie bin, providing you with all the necessary information and tips to complete this project successfully.
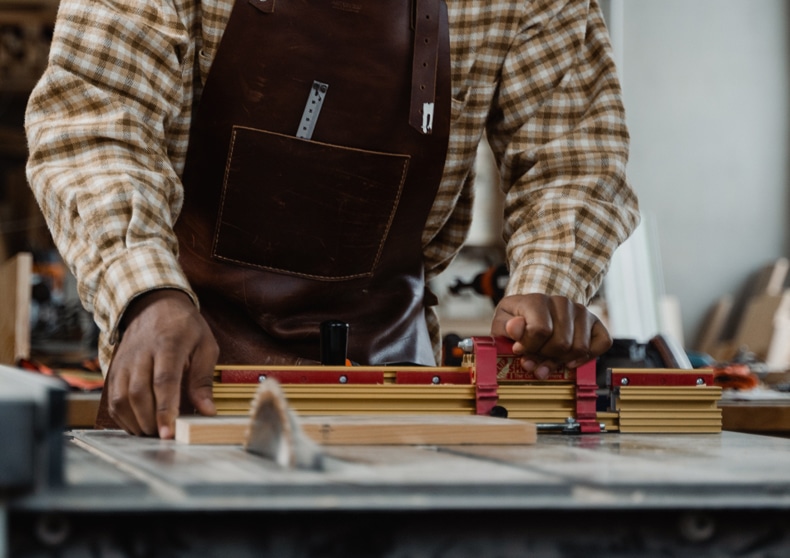
Gathering the Tools and Materials
Before you start building your corner veggie bin, it is important to gather all the necessary tools and materials.
Here is a list of items you will need:
- Saw: You’ll need a saw to cut the wood pieces to the desired dimensions.
- Pencil: A pencil will be used to mark the wood for cutting and assembly.
- Ruler: A ruler will help you make precise measurements and markings.
- Wood Glue: Wood glue is essential for securely joining the wooden pieces together.
- Sandpaper: Sandpaper will be used to smooth out any rough edges.
Additionally, you will need the following materials:
- Wood: You will need three long and wide rectangular pieces of wood for the backboard and two pieces that can be cut into sides of the bin. You will also need three square pieces of wood for the bottom of the bin and a smaller piece of wood for the front pieces of the bin.
Planning and Cutting the Wood
Before you start cutting the wood, it is important to plan where you will make the cuts. U
se a pencil and ruler to mark the lines where the cuts will be made.
Here’s a breakdown of how to cut the wood pieces:
- Backboard: The two back pieces of the bin do not need to be cut.
- Bottoms of the Bins: Take the square pieces of wood and draw a diagonal line across one of the squares. Cut off one of the four corners diagonally for three pieces of wood.
- Side Pieces: Measure half the width of one of the squares and mark it off onto two pieces of wood that are the same length as the back sides of the bin. These will serve as the side pieces of the bin.
- Front Pieces: Cut three pieces of wood to fit the length of the front side of the square bottoms on the side you have cut.
Assembling the Corner Veggie Bin
Now that you have all the wood pieces cut and prepared, it’s time to assemble the corner veggie bin.
Follow these steps:
- Glue the Back Pieces: Start by gluing the two back pieces of the bin together at a 90-degree angle. Allow the glue to dry completely.
- Attach the Bottoms: Take the three square bottom pieces and glue them at equal distances from each other between the back sides of the bin. Make sure the corners you cut off are facing the front of the bin.
- Add the Side Pieces: Glue the two pieces of wood, which are the same length as the back sides of the bin, onto the sides of the bin. Make sure they are glued to both the backs and the bottoms of the bin.
- Attach the Front Pieces: Glue the remaining three pieces of wood to the front of the bin, horizontally, where you had cut off the corners of the bottoms.
- Sanding: After the glue has dried, use sandpaper to sand down any rough edges and make the surface smooth.

Tips for Effective Vegetable Storage
Now that your corner veggie bin is complete, here are some tips to ensure effective vegetable storage:
- Sort and Organize: Keep your vegetables organized by sorting them according to type and freshness. This will make it easier to find what you need and prevent spoilage.
- Proper Ventilation: Make sure the corner veggie bin is placed in a well-ventilated area to allow air circulation around the vegetables. This will help prevent moisture buildup and prolong their freshness.
- Check and Rotate: Regularly check your vegetables for any signs of spoilage or rot. Remove any spoiled vegetables to prevent them from affecting others. Also, rotate your vegetables to ensure that older ones are used first.
- Temperature and Humidity: Different vegetables have different temperature and humidity requirements. Research the optimal conditions for each vegetable and adjust accordingly.
- Keep Away from Ethylene: Some vegetables, like tomatoes and onions, release ethylene gas that can cause other vegetables to spoil faster. Keep these vegetables separate from others to prevent premature spoilage.
Conclusion
Building your own corner veggie bin is a fun and practical DIY project that can help you store your vegetables effectively. By following the steps outlined in this guide, you can create a storage solution that keeps your vegetables fresh and organized.
Remember to gather all the necessary tools and materials, plan and cut the wood pieces, and assemble the bin with care. With your corner veggie bin in place, you can enjoy the benefits of efficient vegetable storage in your home.