How to Repair a Punched Hole in the Wall: A Complete Guide
If you’ve ever accidentally punched a hole in your wall, you know how frustrating it can be.
Whether it was an outburst of anger or a simple mishap, it’s important to know how to repair the damage.
In this comprehensive guide, we will walk you through the step-by-step process of fixing a punched hole in the wall.
From evaluating the size of the hole to repainting the wall, we’ve got you covered. So, let’s get started!
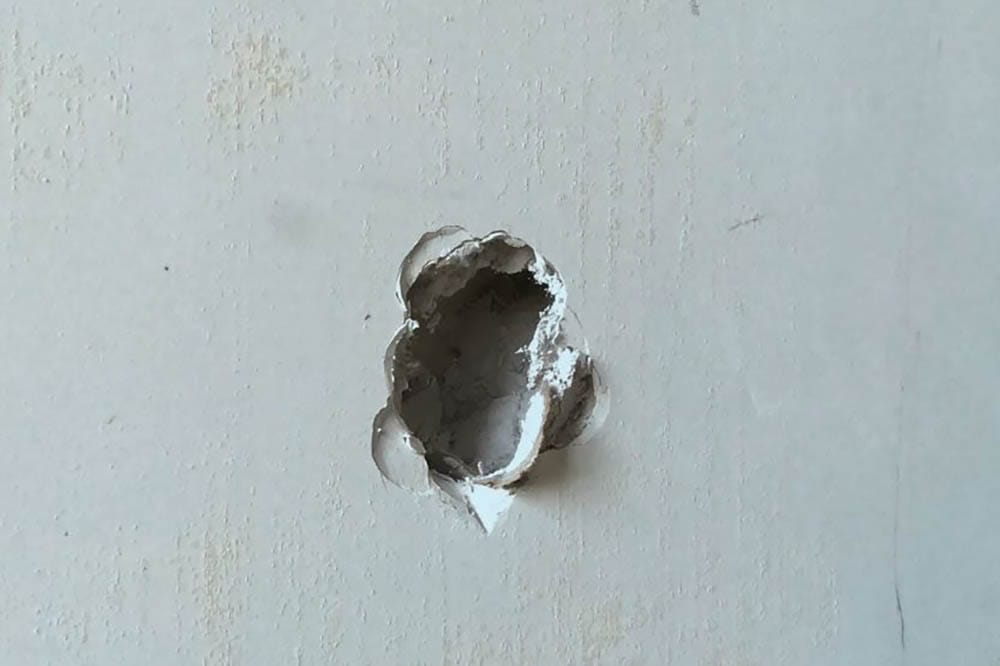
1. Evaluate the Size and Depth of the Hole
The first step in repairing a punched hole in the wall is to evaluate its size and depth. Take a step back and assess the damage.
If the hole is small and shallow, measuring less than 1/4 inch in diameter, you can likely repair it yourself.
However, if it’s a larger hole that goes all the way through or has caused significant damage, it’s best to call a professional for assistance.
2. Gather the Necessary Tools and Supplies
Before you begin the repair process, it’s essential to gather all the necessary tools and supplies.
Here’s a list of items you’ll need:
- Utility knife
- Putty knife
- Wall patch kit
- Joint compound
- Sanding block and sandpaper
- Paint brush or roller
- Primer and paint
Wall patch kits are an excellent option for repairing holes in drywall. They are simple to use and readily available at your local hardware store.
If you don’t have a kit, you can purchase the individual components separately.
3. Prepare the Workspace and Ensure Adequate Ventilation
Before you start repairing the punched hole, it’s crucial to prepare your workspace and ensure adequate ventilation.
Move any furniture or objects away from the area you’ll be working on. This will give you enough space to maneuver and prevent any accidental damage.
Additionally, make sure the room is well-ventilated to avoid inhaling toxic fumes from paints or sealants.
4. Clear Dust and Debris from the Hole
Before patching the hole, it’s important to clear any dust and debris that may be present.
Use a duster or a vacuum cleaner to remove loose particles from the area.
If there are any remaining bits of plaster stuck on the wall’s surface, you can use an electric toothbrush to gently brush them away.
5. Use a Wall Patch Kit to Cover the Hole
Now it’s time to use the wall patch kit to cover the hole. Peel off the backing of the patch and stick it onto the drywall over the hole.
Ensure that the patch is firmly attached and doesn’t cover any electrical outlets or other fixtures.
6. Apply Joint Compound to Fill the Hole
Next, use a putty knife or trowel to apply joint compound to fill the hole.
Spread the mixture across the area over the hole, making sure to be generous in repairing any cracks or irregularities on the wall’s surface.
The joint compound should be at least 1/8 inch thick. Allow the compound to dry completely before moving on to the next step.
7. Smooth Out the Joint Compound
Once the joint compound is dry, it’s time to smooth out the surface. Use a sanding block and fine-grit sandpaper to gently sand down any rough edges or unevenness.
Be sure to wipe away any dust created by sanding before proceeding.
8. Repaint the Wall
After smoothing out the joint compound, it’s time to repaint the wall. Start by applying a coat of primer to the patched area.
This will ensure that the paint adheres properly and provides a smooth finish.
Once the primer is dry, apply the paint using a brush or roller to match the wall’s original color scheme. Allow the paint to dry completely before assessing the final result.
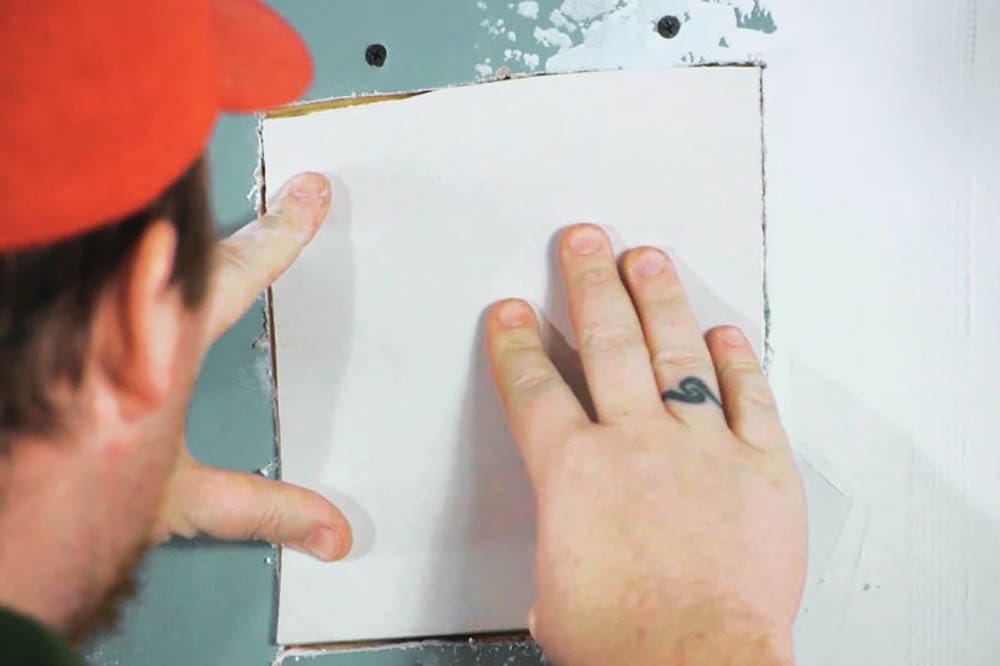
9. Alternative Method: Using a Patch of Drywall
In addition to wall patch kits, you can also use a patch of drywall to repair a punched hole.
This method is suitable for larger holes or when more extensive repairs are required. Here’s how you can do it:
- Prepare the Workspace: Clear the area around the hole and ensure you have enough space to work.
- Cut the Patch: Cut a patch of 1/2-inch drywall that is slightly larger than the hole you’re repairing. Trace the patch’s outline onto the old drywall and cut away the damaged area using a utility knife or drywall saw.
- Smooth the Edges: Make sure the edges of your drywall patch are smooth before screwing it into place.
- Apply Joint Compound: Spread a thin layer of joint compound over the seam between the patch and the existing drywall. Place a strip of paper tape over the compound and scrape off any excess. Allow the compound to dry, then repeat the process with a second and third coat if necessary.
- Sand and Paint: After the final coat of joint compound is dry, sand the patched area lightly to smooth out any imperfections. Prime the patch and repaint the wall to match the surrounding area.
10. Factors Affecting the Cost of Repairing a Punched Hole
The cost of repairing a punched hole in the wall can vary depending on several factors:
- Size of the Hole: Larger holes will generally require more materials and labor, which can increase the overall cost of the repair.
- DIY vs. Professional Help: If you choose to repair the hole yourself, the cost will be limited to the materials and tools you need. However, hiring a professional handyman or contractor can result in additional labor costs.
- Type of Repair: The method used to repair the hole, whether it’s using a wall patch kit or a patch of drywall, can affect the overall cost.
11. When to Seek Professional Help
While small holes can often be repaired as a DIY project, there are instances when it’s best to seek professional help.
If the hole is larger than an inch or two in diameter or if there are multiple holes, it may be more efficient and cost-effective to hire a handyman or contractor.
They have the expertise and tools to handle more extensive repairs and ensure a seamless finish.
12. Conclusion
Repairing a punched hole in the wall may seem like a daunting task, but with the right tools and techniques, it can be easily accomplished. By following the steps outlined in this guide, you can restore your wall to its original condition and enjoy a seamless finish.
Remember, whether you choose to tackle the repair yourself or seek professional help, it’s essential to take the necessary time and care to achieve the best results.